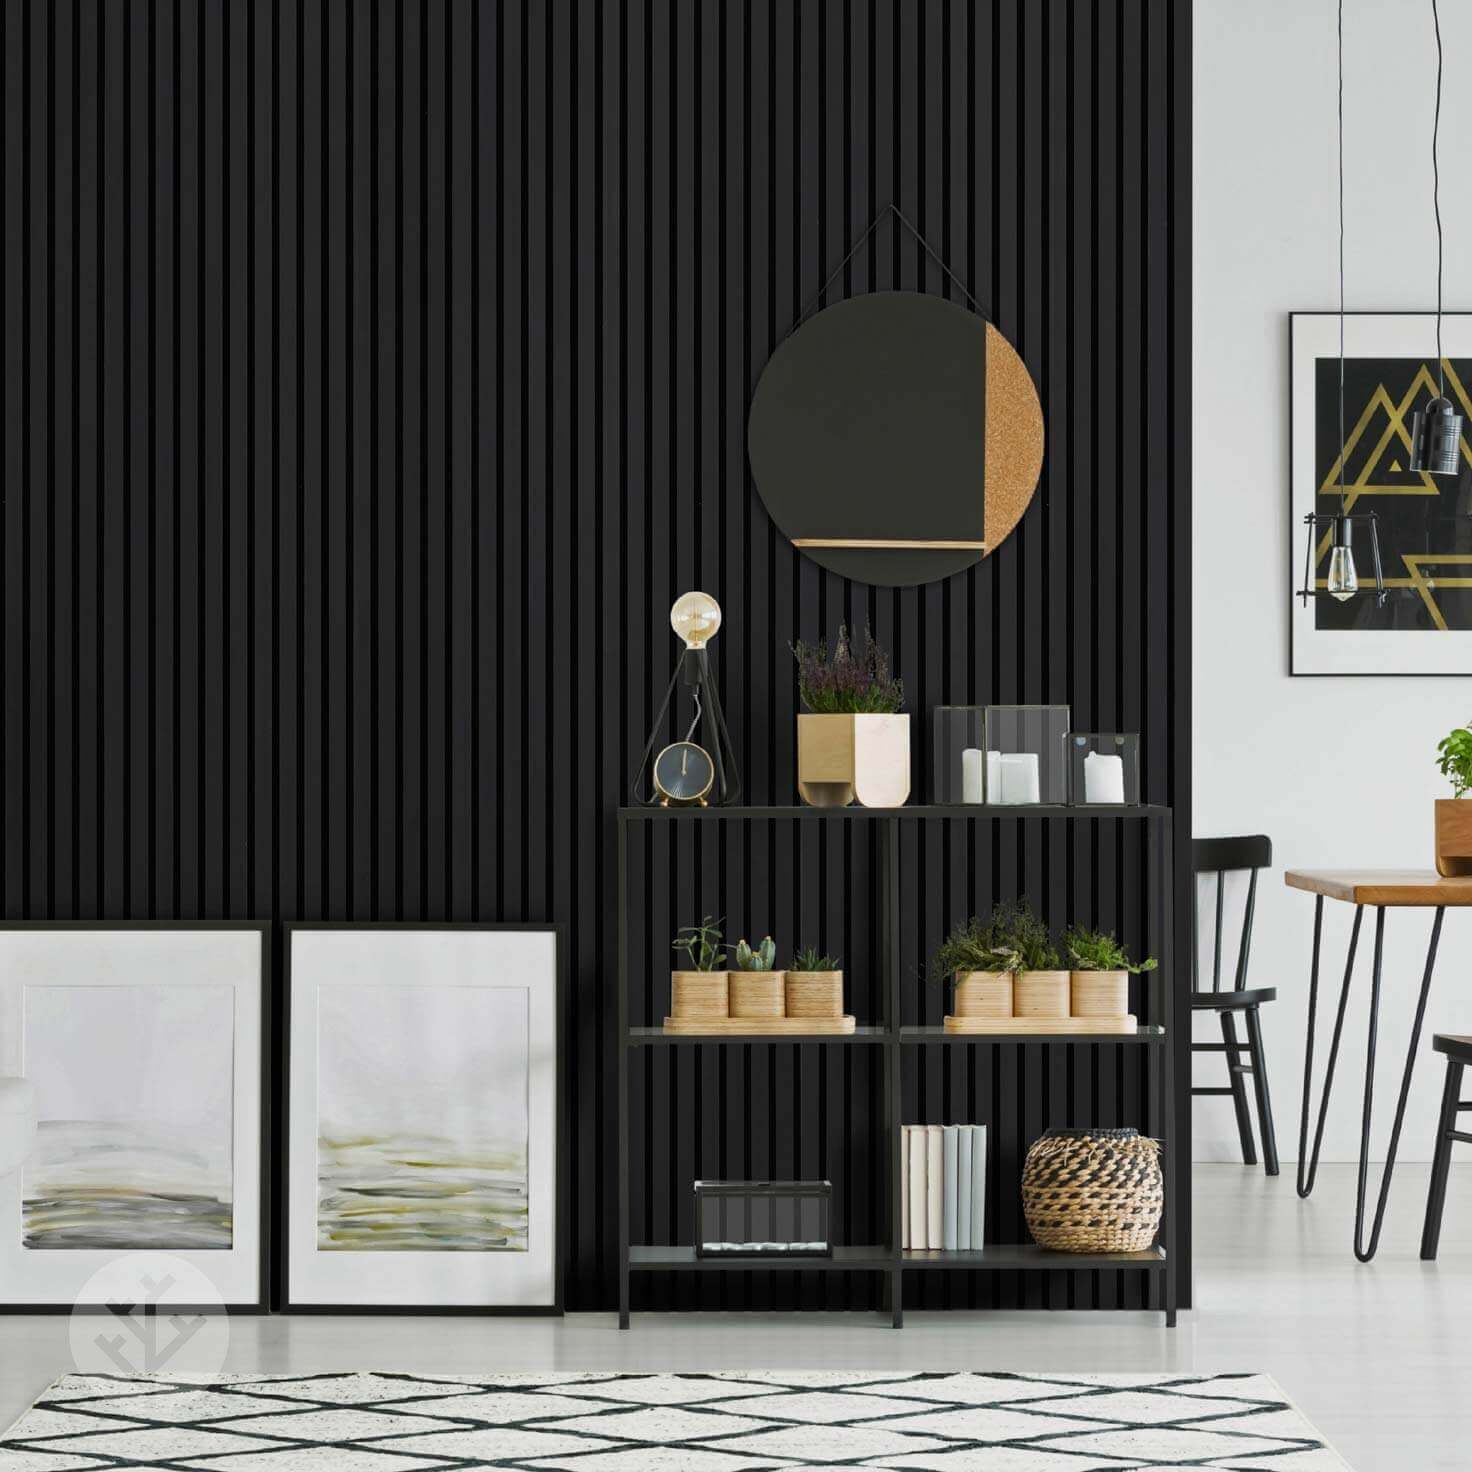
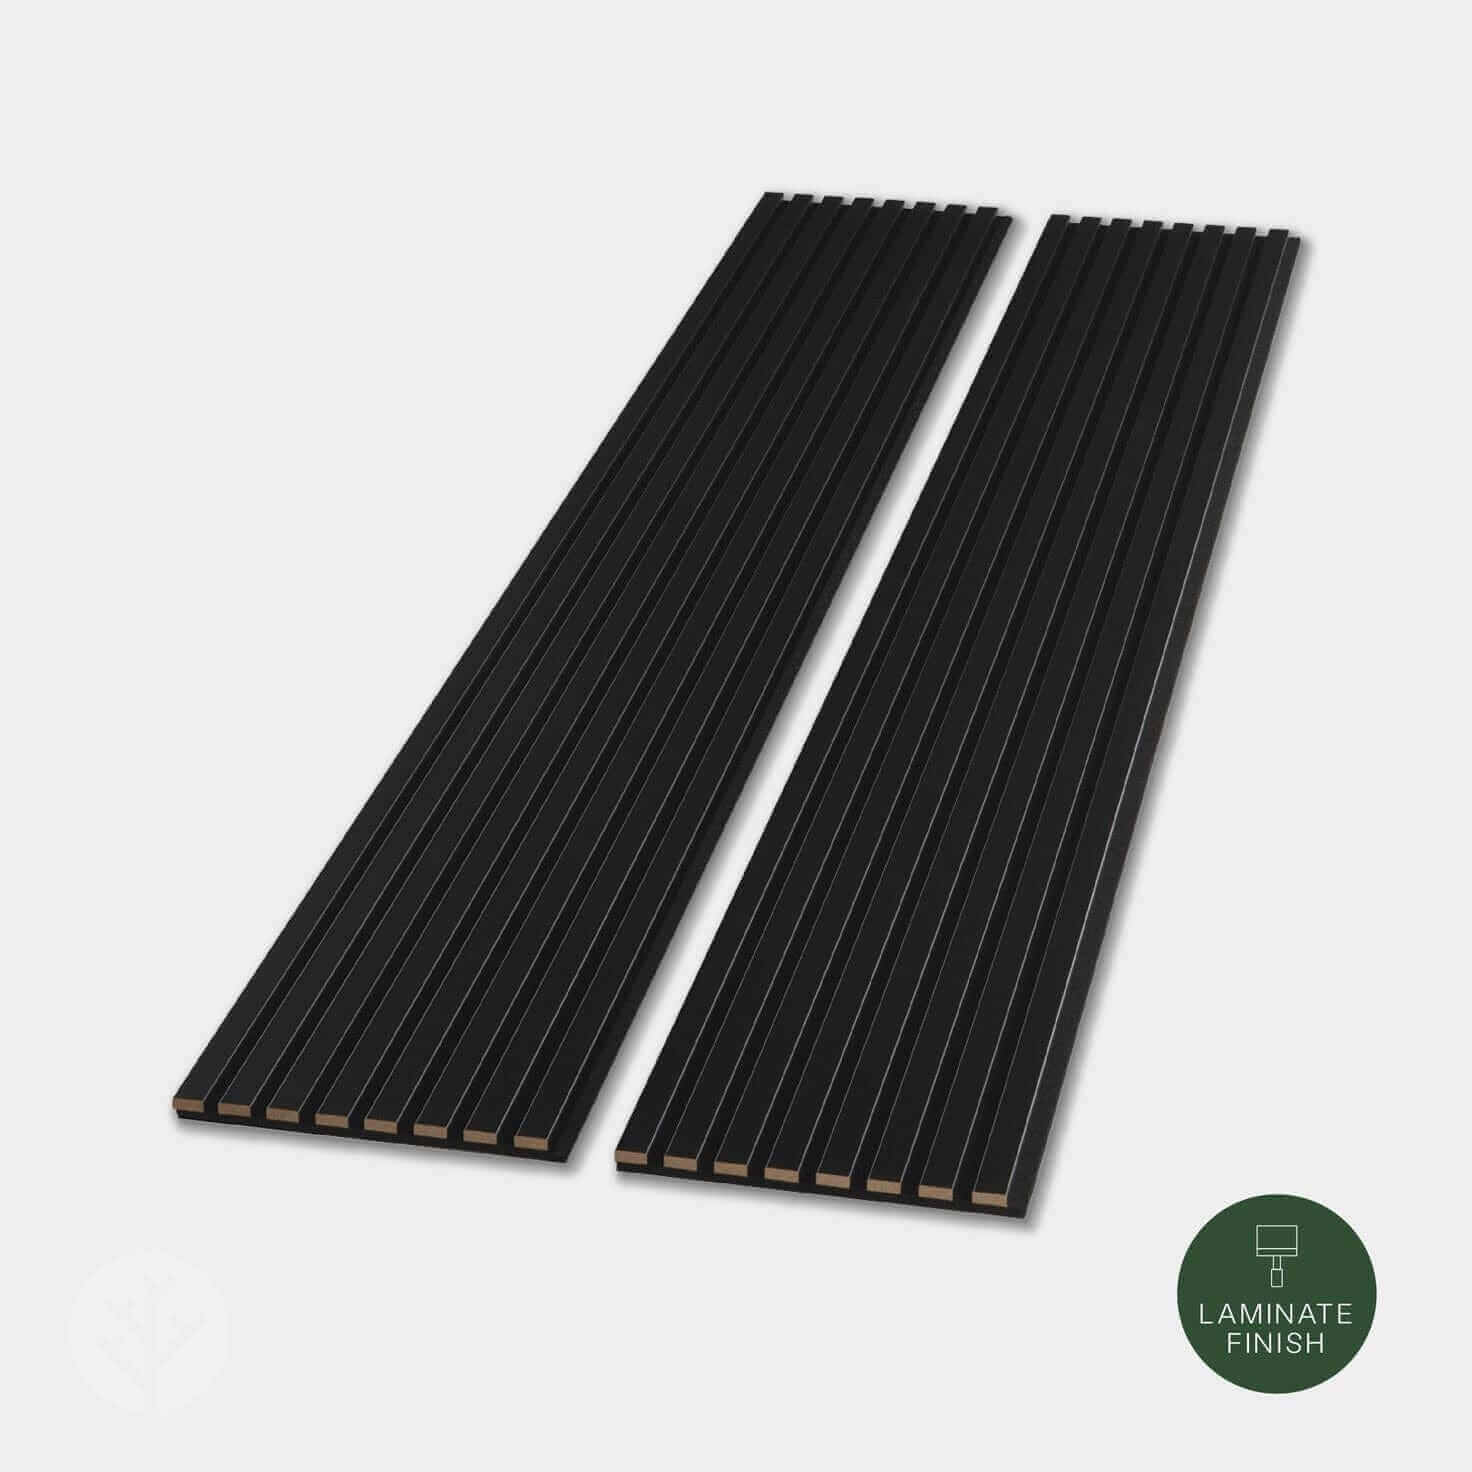
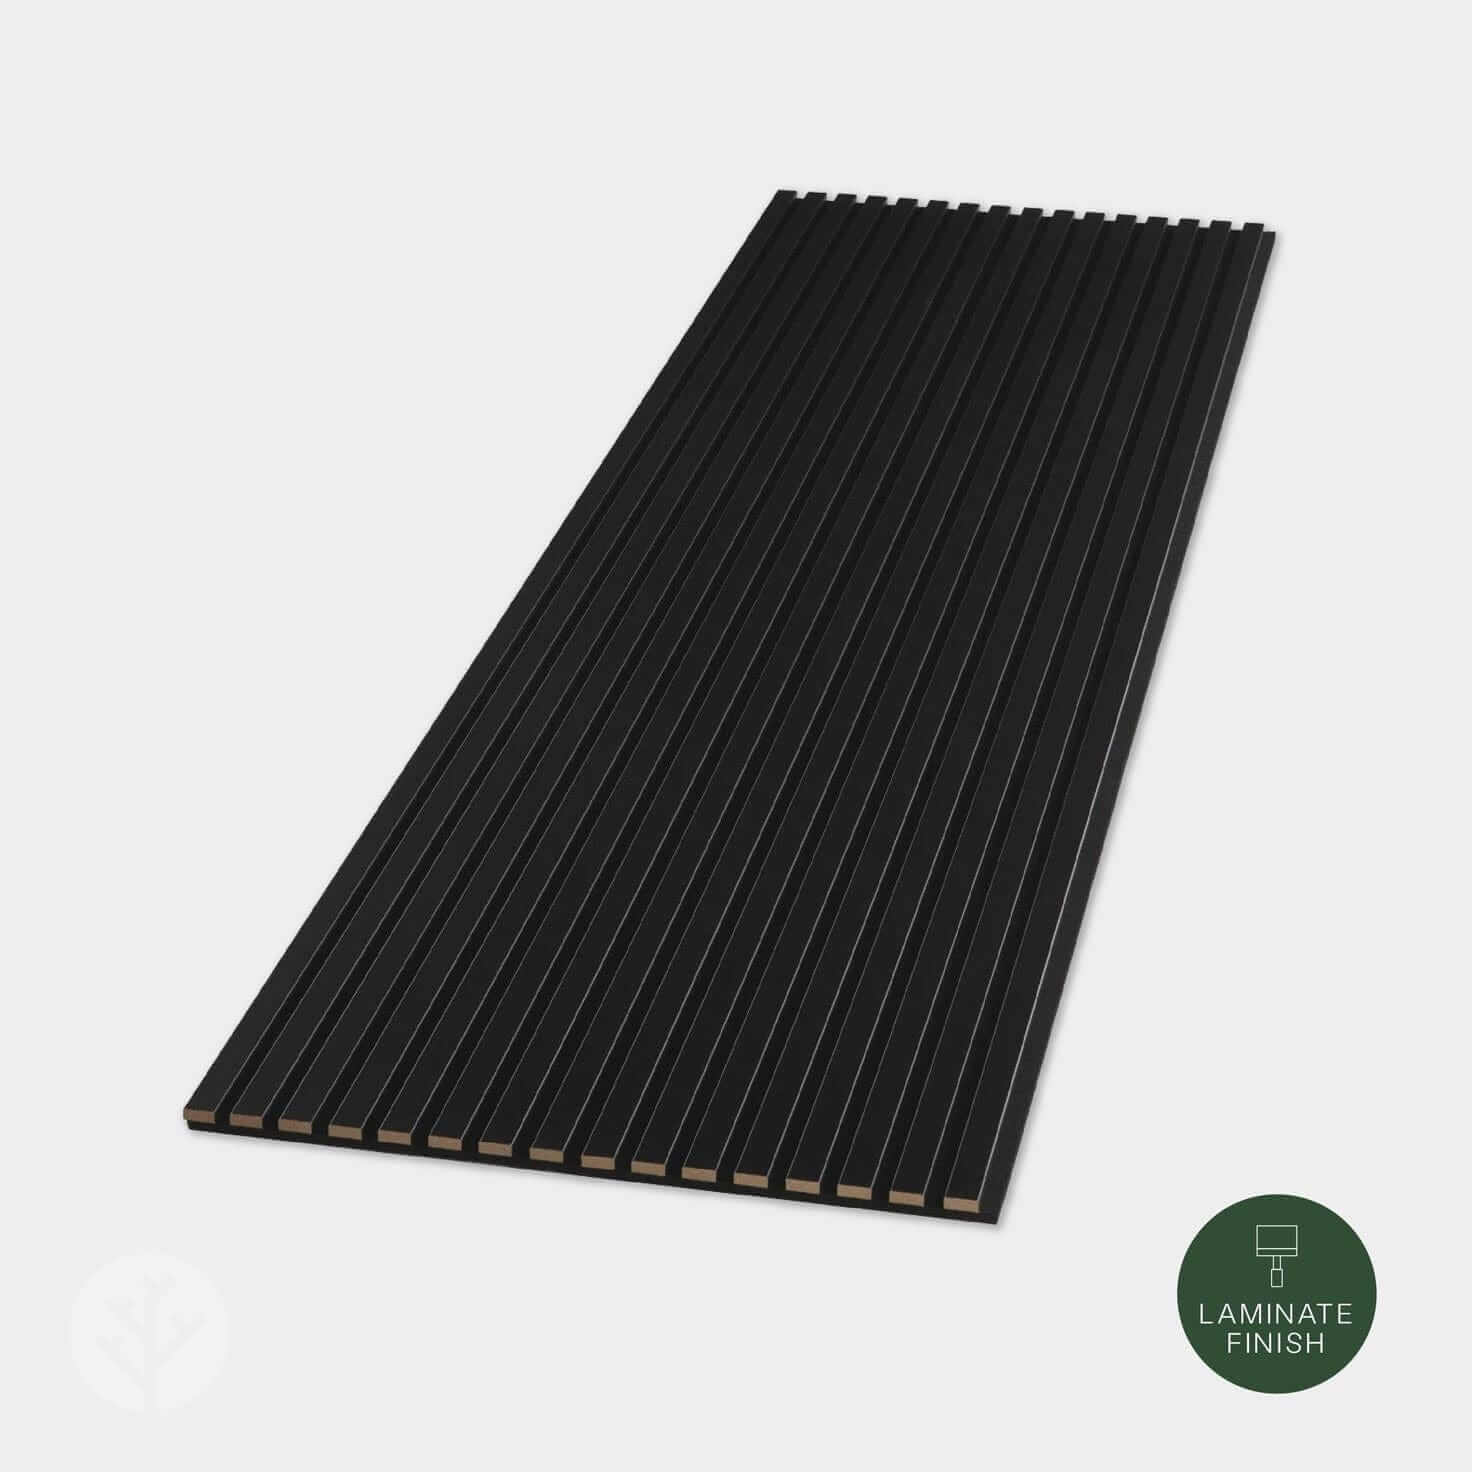


Acupanel Black Slat Panels
A premium-looking designer wall transformation you can do yourself, without any experience, or a tradie.
Couldn't load pickup availability
Pickup available at WVH Sydney (Mulgrave)
Usually ready in 24 hours
Details
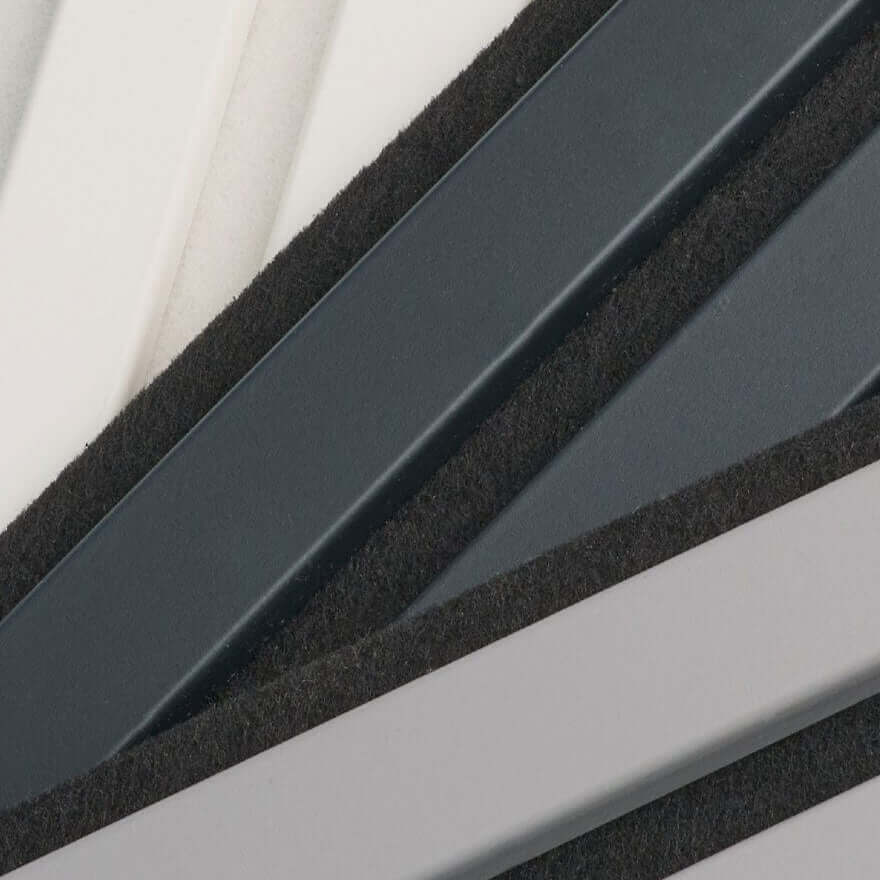
Panel dimensions
Get samples
Shipping information
Technical sheet
Pairs well with
Acupanel Black Slat Panels
Need personalised help or advice on a specific product? Our team is ready to assist.
-
Contact Us
Call us on (02) 8091 9948 for immediate support during business hours. If you'd prefer to email, you can reach us on sales@thewoodveneerhub.com.au
-
FAQ’s
Find answers to common questions about our panels, installation, returns, and more in our FAQ centre
-
Shipping Information
Orders dispatch within 24 hours on weekdays.
We ship reliably nationwide using trusted carriers, with tracking provided once your order is on its way.
Shipping costs are calculated at checkout using live rates, so you’ll always see the exact delivery cost before you place your order.
As seen in
Why Acupanel stands apart
Designed for elevated interiors, acoustic comfort, and lasting quality.


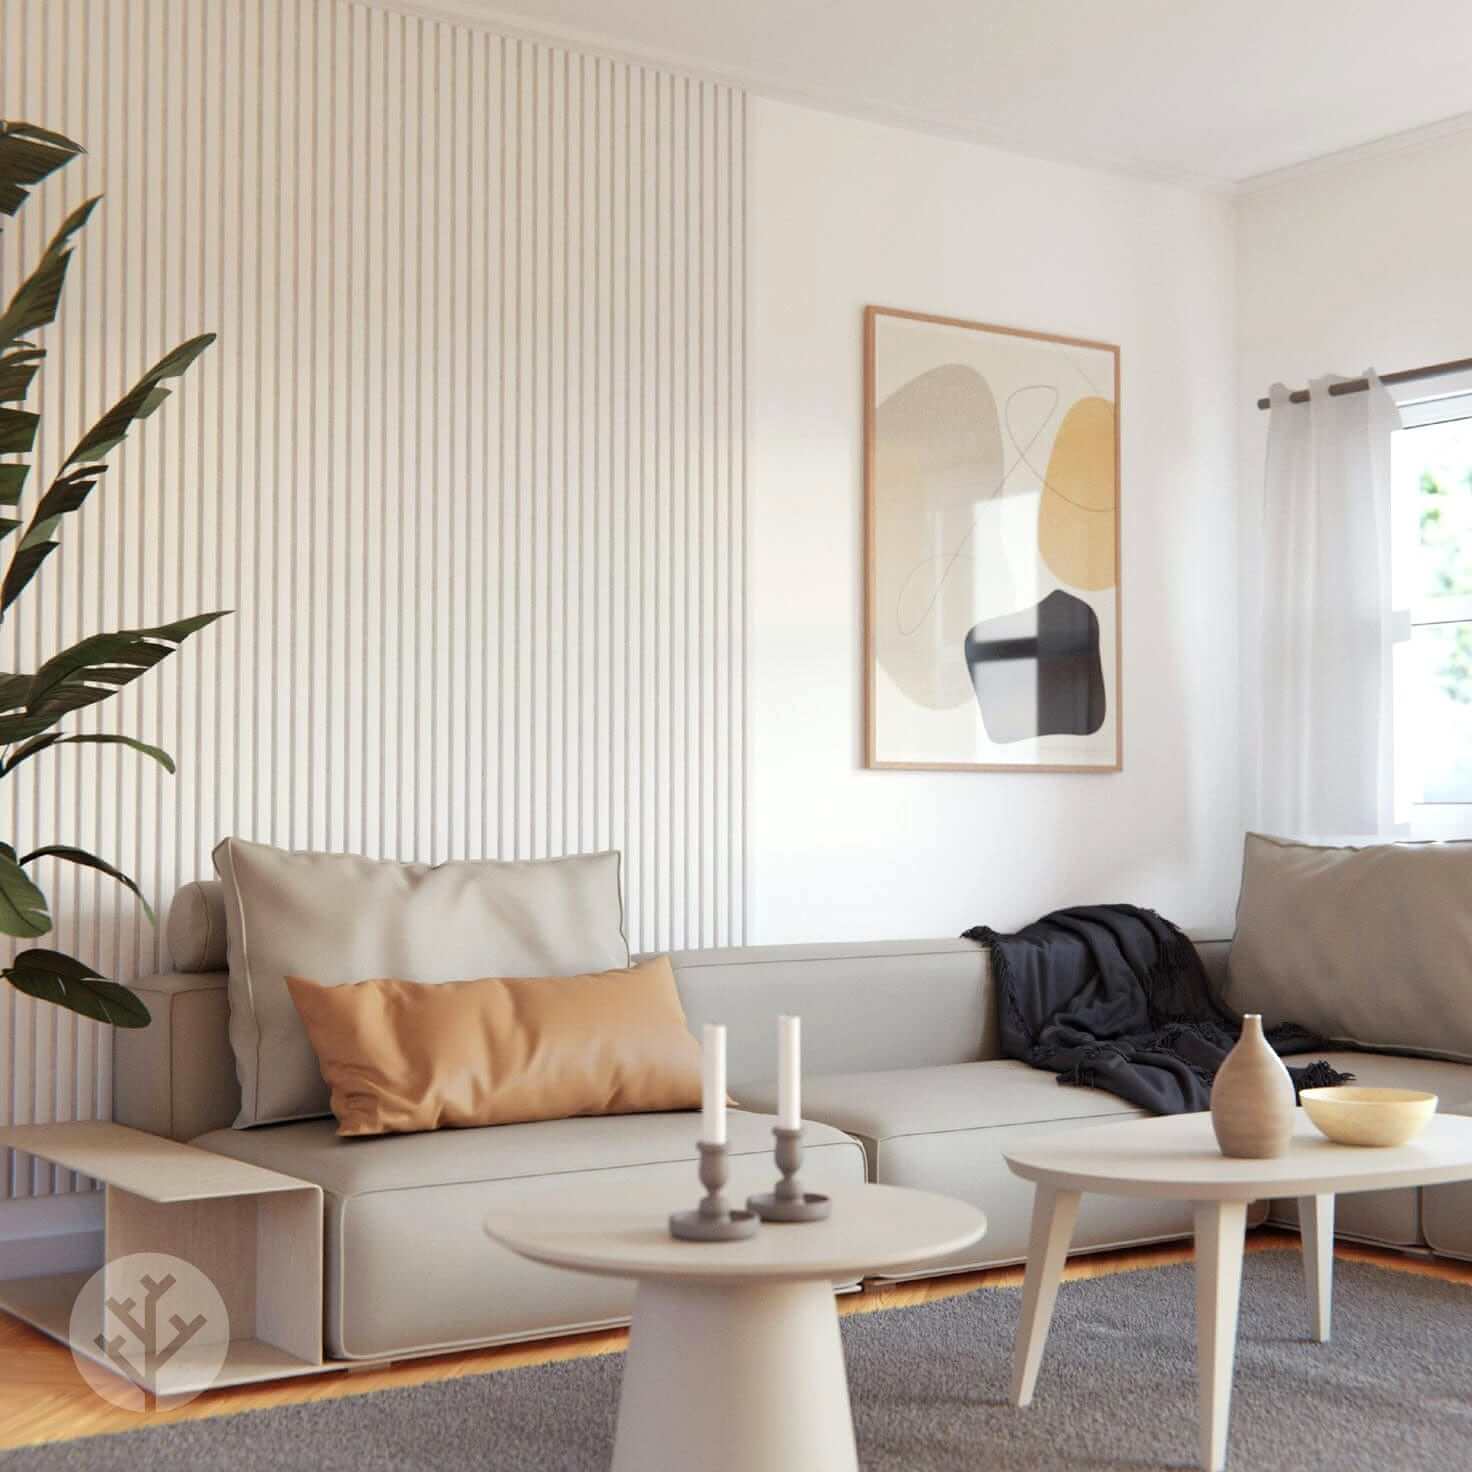

Feel the difference in the room
Acupanel doesn’t just change how a wall looks. It changes how a space feels to spend time in, adding warmth, texture, and acoustic comfort that’s noticeable the moment you walk in.


Designed to look right, for years to come
Every Acupanel is made with real wood veneer and thoughtful construction, so the finish stays consistent, the panels perform properly, and the space continues to feel considered over time.

“I love that WVH makes premium style easy, affordable and fun.”
“What stood out to us was how considered everything felt. From the samples to the install, it never felt like we were cutting corners, even though it was well within our budget.
The panels look and feel really solid, and the space just feels more intentional now. It doesn’t look like we’ve added something on, it looks like it was always meant to be there.
We liked that WVH felt like a proper brand, not just a product. Everything was clear, the quality matched what we expected, and the end result honestly exceeded it.”
Sam Keates - Mum and first time DIYer

Installing Acupanel is straightforward
Start with the video to see the full process, then use the interactive steps below to guide your install from start to finish.

Step 1
Measure the walls
Measure the height and width of your wall carefully and plan your panel layout before cutting. If you’re unsure about spacing or how many panels you’ll need, you can send your measurements to our support team or give us a call and we’ll help you lock in the right quantity before you order.

Step 2
Mark your cut lines
Apply paper tape to the panel where you plan to cut, then mark your cut line directly on top of the tape using a pencil. This helps prevent splintering during cutting and avoids marking the panel surface itself.

Step 3
Cut the panel to size
Cut along the marked line using a sharp, fine-toothed saw for the cleanest result. A track saw or circular saw works well for straight cuts, while a hand saw can also be used with care. For lengthways cuts, the felt backing can be trimmed with a sharp utility knife.

Step 4
Smooth the cut edges
Lightly sand the cut edges until smooth. This step helps refine the finish and ensures the panel looks clean and intentional once installed.

Step 5
Position the panel on the wall
Place the panel against the wall and check alignment before fixing. Make sure it’s straight and sitting flush, ready to secure in place.

Step 6a
Fix the panels to the wall with screws
Secure the panel by screwing through the felt backing between the slats and into the drywall. We recommend four screws per side, spaced evenly from top to bottom to keep fixings discreet. Matte black screws blend into the felt for a clean, minimal look.
This method allows panels to be removed later if needed.

Step 6b
Fix panels to the wall with panel adhesive
or a more permanent install, panels can be fixed using WVH panel adhesive. Apply a bead around the edge of the panel, keeping it slightly in from the edge, then run a zigzag pattern down the centre before pressing the panel firmly onto the wall.
This method is best suited to permanent installations, as panels cannot be easily removed once fixed.

Step 7
Enjoy the finished space
Once installed, your panels should sit cleanly and securely, transforming the look and feel of the space. Take a moment to step back and enjoy the finished result.

Quality you’ll appreciate every day
The kind of quality you notice in the moments that matter. Morning light across the wall, quiet evenings at home, and the feeling that a room finally feels complete. Acupanel brings warmth, texture, and calm into everyday life, turning familiar spaces into places you genuinely enjoy spending time in.

For spaces that deserve better
When you’re choosing wall panels that will define a space for years to come, details matter. From material quality to finish and consistency, every decision shapes how a room feels to live and work in.

"We needed the house to feel calm, inviting natural and walm."
See how Amanda and her husband Troy used our panels to transform their space.

Chosen for professional spaces
See how Liam, the owner of a luxury car dealership used our panels to elevate his office environment.
Built with care
Thank you for choosing our craftsmanship. We take great care in selecting quality materials and creating products that enhance the spaces people live and work in. I hope your project brings you enjoyment for many years to come.

FAQs
Please read our FAQs page to find out more.
Do Acupanel wall panels actually improve acoustics?
Yes. Acupanel is designed to help reduce echo and soften sound within a space, creating a calmer and more comfortable environment.
When installed directly onto a wall, Acupanel has an NRC rating of 0.6, which provides noticeable improvement in rooms with hard surfaces such as home offices, media rooms, and studios.
For customers looking for higher acoustic performance, Acupanel can achieve an NRC rating of up to 0.95 when installed on battens with an air gap and acoustic insulation behind the panel.
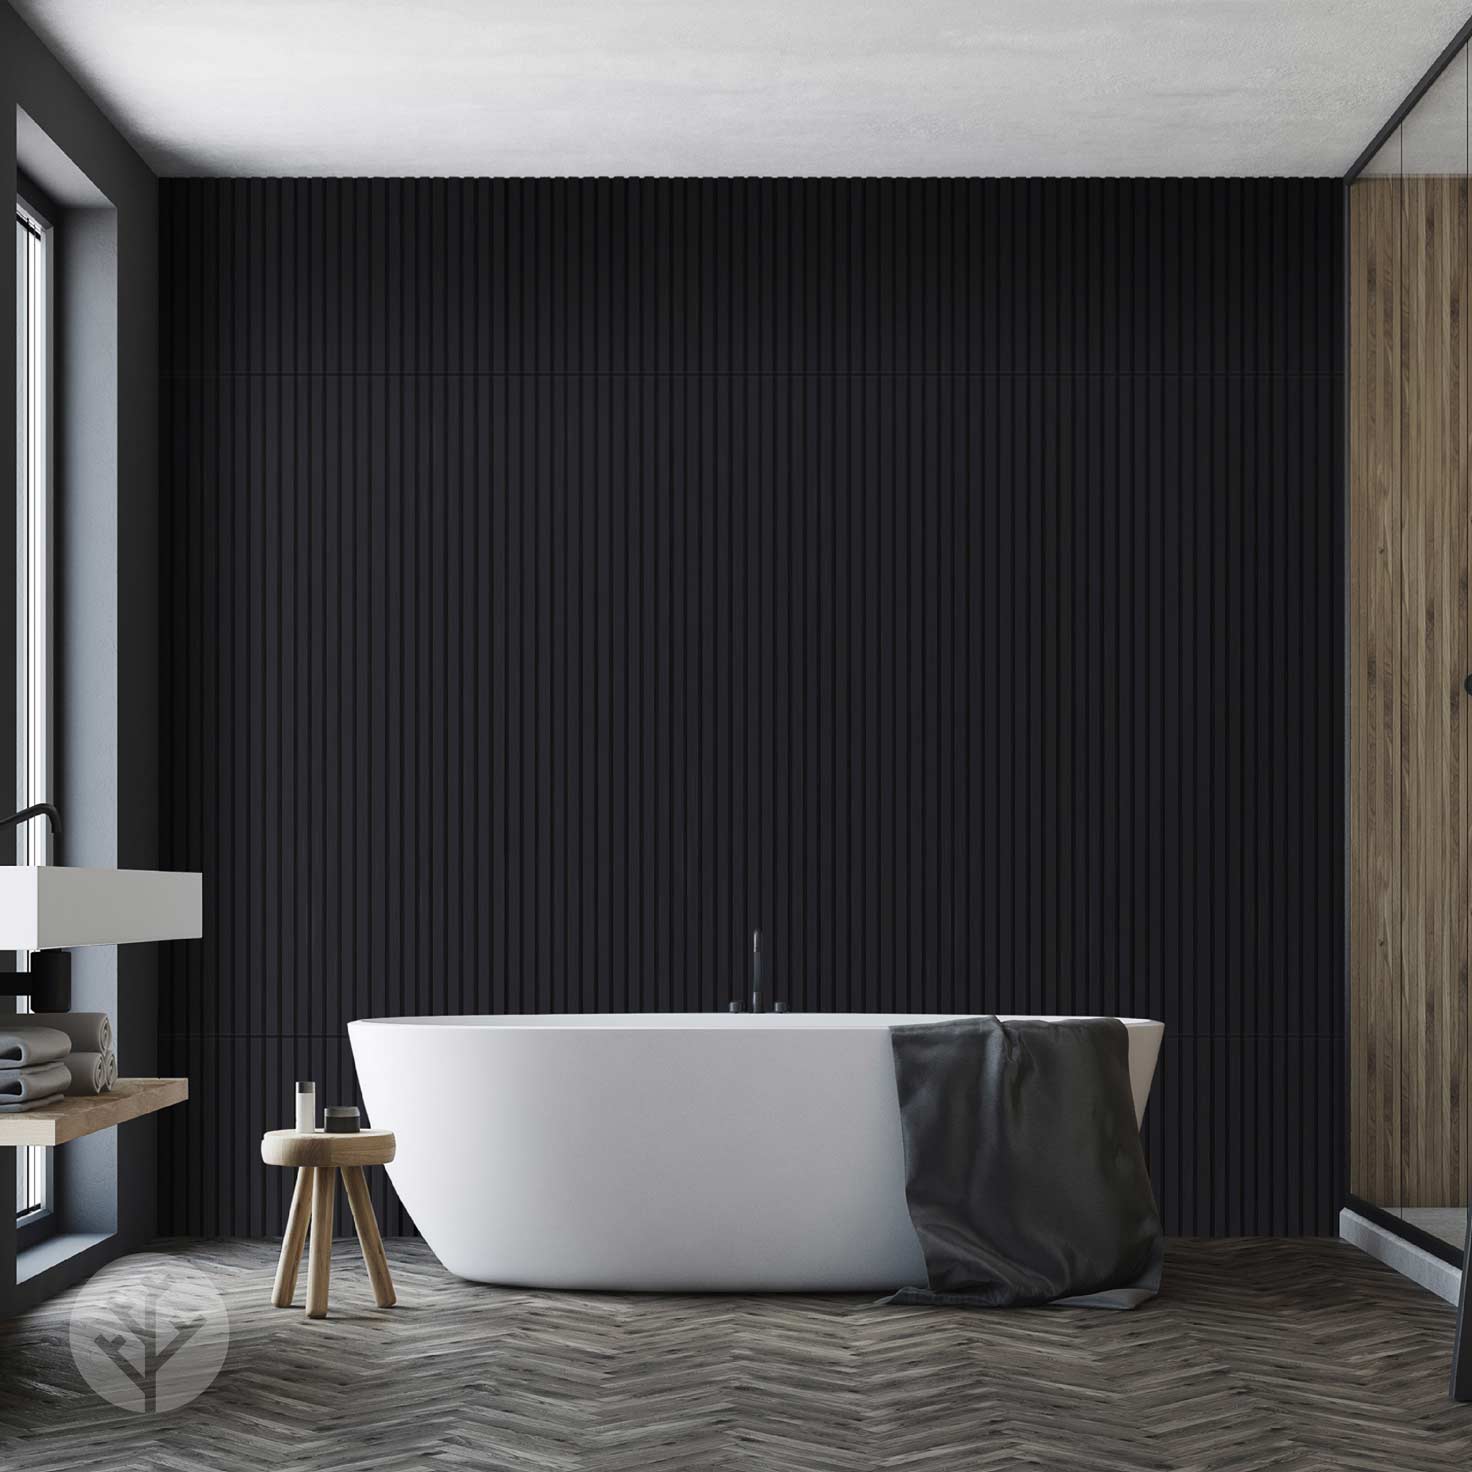
Can Acupanel wall panels be used in kitchens or bathrooms?
Acupanel can be used in kitchens and bathrooms where it is not exposed to direct moisture, steam, or splash zones.
It works well in areas such as:
- Under island benches
- Feature walls away from sinks or cooktops
- Powder rooms or toilets
- Bathrooms where shower steam is well contained and does not reach the panels
Acupanel is not designed for high-moisture areas or locations where water or steam regularly comes into contact with the surface, such as inside showers, behind basins, or near stovetops.
If you’re unsure whether Acupanel is suitable for your space, our team is happy to help assess the location and recommend the best option.
Can Acupanel be installed behind or around a fireplace?
In many cases, yes, Acupanel can be installed behind or around a fireplace, particularly with modern fireplaces that have proper heat shielding and controlled heat output.
Many customers have successfully used Acupanel in these applications. As a general guide, we recommend keeping panels at least 300mm away from direct heat sources when installing behind a fireplace.
However, fireplace designs, heat output, and safety requirements vary. For this reason, it’s important to:
- Check the specifications and clearances provided by your fireplace manufacturer
- Ensure the panels are not exposed to excessive heat over time
This guidance should be considered a general reference only. We always recommend doing your own research and confirming suitability for your specific fireplace before installation.
Are Acupanel wall panels easy to install, and can I do it myself?
Yes. Acupanel wall panels are designed for straightforward installation using common tools, and many customers choose to install it themselves.
If you’re comfortable with basic DIY tasks, installation is very achievable. Panels can be fixed using screws or adhesive, depending on your wall type, and clear installation guides and videos are available to walk you through each step.
For larger projects or commercial spaces, some customers choose to use a professional installer, but it’s not required for most home installs.
Can Acupanel wall panels be cut to size?
Yes. Acupanel can be cut to size using standard woodworking tools.
For the cleanest result, we recommend using a fine-toothed saw blade. This applies whether you’re using a hand saw or a power saw such as a circular saw or track saw. A track saw will give the straightest cuts if you have access to one, but it’s not essential.
For smaller cut-outs around power points, switches, or fixtures, a multi-tool is especially handy and gives you good control.
The entire process is still achievable with basic hand tools if needed. Taking your time and using a fine-toothed blade will help ensure a clean, professional finish.
Is Acupanel suitable for renters?
Many renters use Acupanel to upgrade their spaces.
Panels installed with screws can be removed later, with holes easily filled and repainted. Some customers have also had success using heavy-duty removable mounting solutions like 3M Command Strips.
We recommend checking your lease or speaking with your landlord before installing.
How do I choose the right colour or finish for my wall panelling?
The best way to choose is to order samples and view them in your own space and lighting.
Samples ship quickly and let you see the true tone, grain, and finish before committing to a full install.
Where can I find installation guides and videos?
Installation guides and step-by-step videos are available on this page and in our Help Centre.
If you have a specific question, our support team is always happy to help.

